Justin Sandler is a PGA Pro and has worked with Foresight Sports Europe for six and half years.
His garden room golf simulator needed to meet several usage requirements. As both a keen player and coach, Justin wanted his own indoor space where he could both teach and play golf, but that could also be enjoyed as an entertainment facility as well.
Justin chose to dig down into his garden to provide the required space for his garden room golf simulation studio – this avoided the need for potentially problematic planning permission, resulted in a simple and attractive above-ground outbuilding, and provided the most effective possible use of space for all of his requirements in the studio itself.
“Not only is the shed an amazing space for family and friends, it’s actually increased the value of the house by more than it cost me – so I’ll have made money from it!”

Planning Justin’s garden golf studio.
Justin wanted to have a golf simulator and home entertainment space; having no space available in the house, he decided to look into the possible options with an external room.
He started by meeting with an outbuilding company to work through some designs ideas, making sure to work from the internal dimensions required for the simulator – this way nothing would be lost from the size of the building materials in construction.
Justin then spoke with his local planning agency to assess what was needed. Planning permission would be required but, due to the site in question not being overlooked, would be likely to be granted.
However, Justin felt that a structure with the required ceiling height of three metres at the end of the garden would just be too intrusive and look out of place.
He then called the outbuilding company to say they would not be proceeding and explained the reason why – the company came up with an inspired solution that met all the requirements and would enhance the aesthetic appearance of the finished project.
Their recommendation was to achieve the required simulator room height by digging down into the garden!
The outbuilding company worked with another team who build swimming pools; they could essentially dig out a pool, build the foundations and seal it, allowing the shed to be built on top.
This option not only meant that the external building was smaller and less of an eyesore – it also meant that planning permission would not be required because the finished height of the outbuilding was within the acceptable limit.
The shed build.
The swimming pool team arrived to begin construction – once the diggers were in place in Justin’s garden they created a hole 7m x 4m, to a depth of 1.3m. The digging stage took two days to complete.
The swimming pool company then built up the brick walls to ground level and poured in the concrete, taking another two days. Due to persistent rain, the tanking and sealing had to be temporarily delayed.
However, this provided an ideal opportunity to being building the shed structure – this would actually help protect the base. Building the shed took three days, after which the foundation could be tanked and made waterproof.
Next, they had to wait for the foundation to completely dry out which took a total of six days. When this was finished, the shed company returned to clad the internal walls and floor (three days in total).
An electrician then came and ran power from the house, installed a circuit breaker in the shed, and ran an internet cable from the house to the shed.
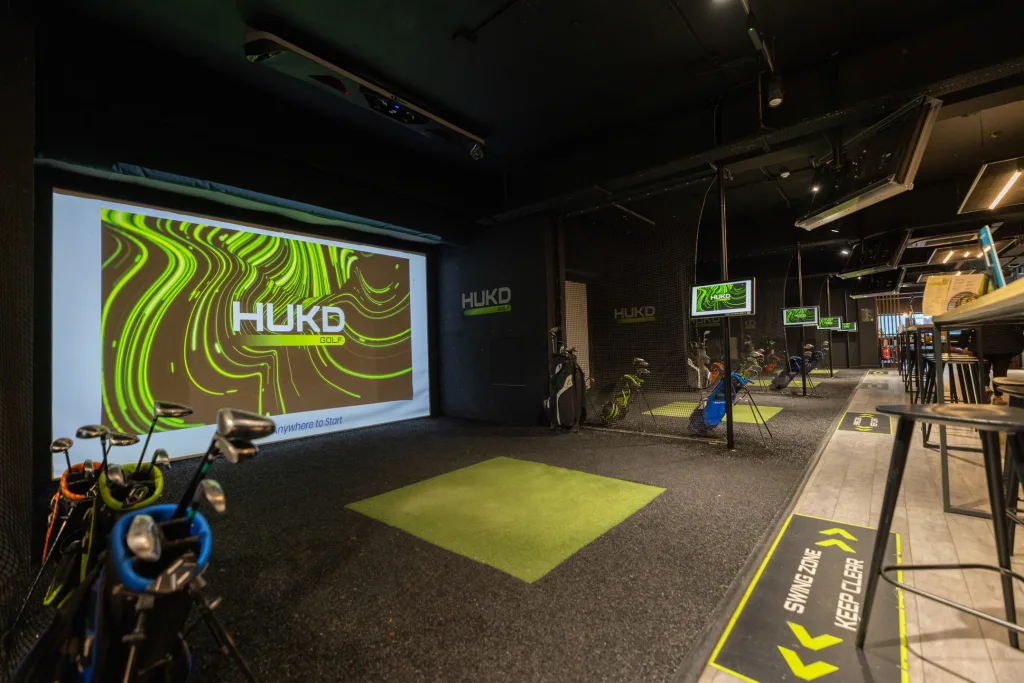
The simulator build.
Once the external structure had been completed, work could begin on transforming the internal space into Justin’s dream golf simulation studio.
This began with carpeting the walls and ceiling, then laying the subfloor, the turf and the hitting mat. Next came the installation of the simulator hitting screen and the ceiling baffles.
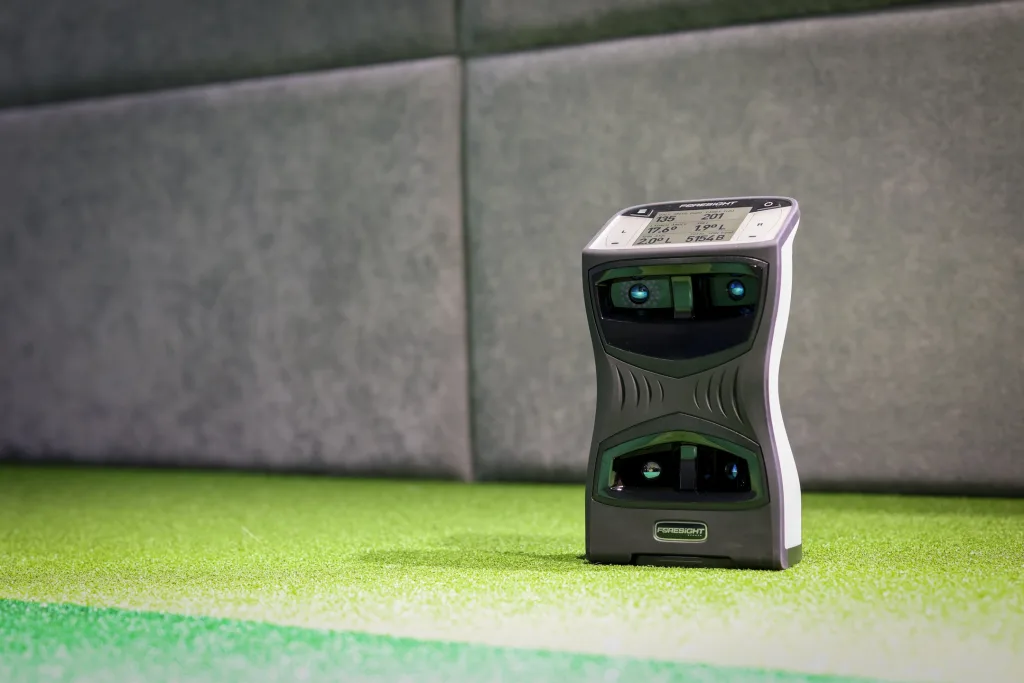
The PC, projector and launch monitor were all installed and connected. Justin started out with the GC2+HMT launch monitor, with the simulator powered by Foresight Sports’ FR1 golf simulation software. Since then, he has upgraded his launch monitor to the GCQuad and his simulator software – firstly to FSX 2018 and most recently to FSX 2020.
Justin was then able to make the space his own, adding finishing touches with furniture, golf bags and sporting memorabilia.

The simulator build.
Step 1
Step 2
Step 3
Step 4
Step 5
Step 6
The simulator build.
The room is now used almost every day, not only for golf simulation but for entertaining friends, watching movies or sports, and playing video games.
In Justin’s own words…
“As a coach, having the ability to back up what you are saying with accurate data is so important to help clients see the changes being made with their swing. Not only is the shed an amazing space for family and friends, it’s actually increased the value of the house by more than it cost me – so I’ll have made money from it! The space is great for the children. They love being able to use it when their friends come around, and it means they aren’t making noise in the house! “The simulator is fantastic; I’d find it hard to stop hitting balls if it wasn’t for my 2-year-old always wanting to have a go himself!”